 MCF User Guide
The Admin Panel
The admin panel is where you manage everything on your council website — content, meetings, community features and settings. This page covers signing in securely and finding your way around.
Signing in
Your website has two front doors:
- The public website — what residents see, at your council's web address.
- The admin panel — where staff work, at the same address with
/adminon the end (for exampleyourcouncil.gov.uk/admin).
- Go to
/adminon your website. - Enter the email address and password you were given.
- Select Sign in.
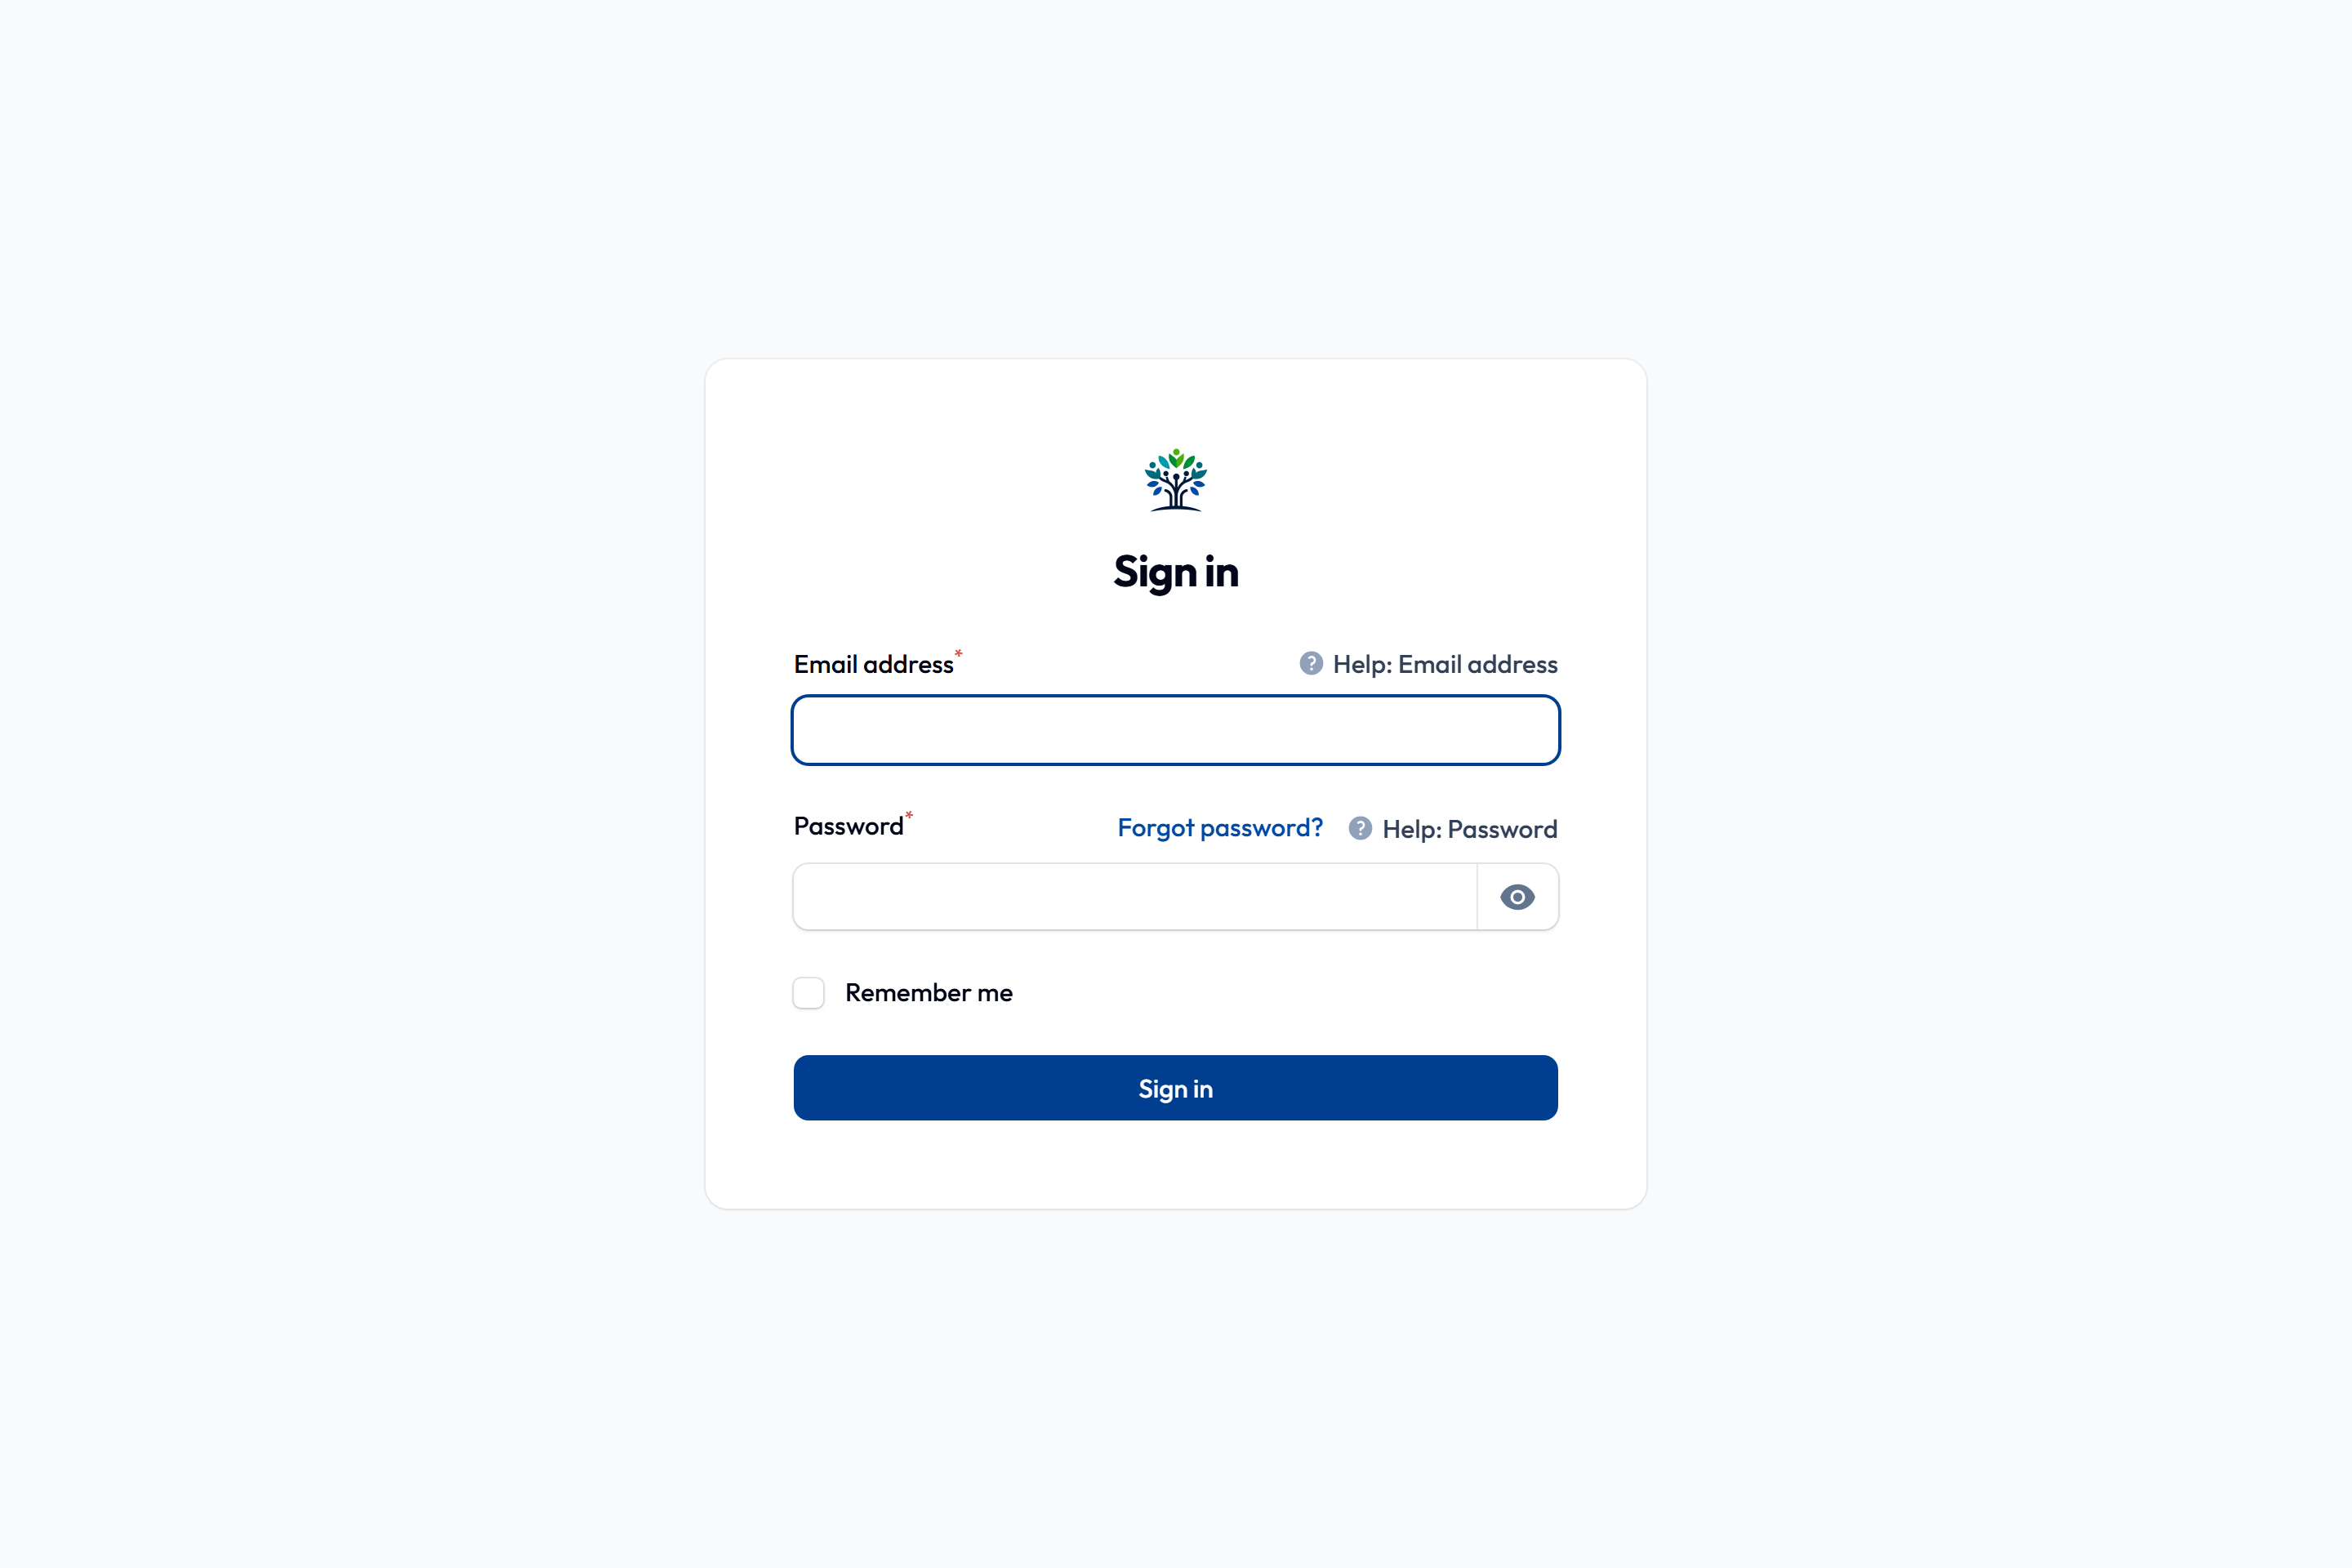
On the sign-in screen, select Forgot password? above the password box. Enter your email address and select Send email, then follow the link emailed to you to choose a new password. If it doesn't arrive, check your spam folder or ask an administrator to set a new password for you.
Signing in for the first time
If an administrator set up your account for you, you may be asked to choose your own password straight away. You'll see the message Password reset required and be taken to your Profile. Enter a new password under New password and select Save changes; the rest of the admin panel opens up once you have.
Two-factor authentication (2FA)
For security, council staff accounts can be protected with two-factor authentication — a six-digit code from an app on your phone, in addition to your password. This is strongly recommended for anyone who can edit content.
- Install an authenticator app (such as Google Authenticator, Microsoft Authenticator or Authy) on your phone.
- In the admin panel, select your initials (top right), then Profile.
- Scroll down to Two-factor authentication (2FA) and select Set up beside Authenticator app.
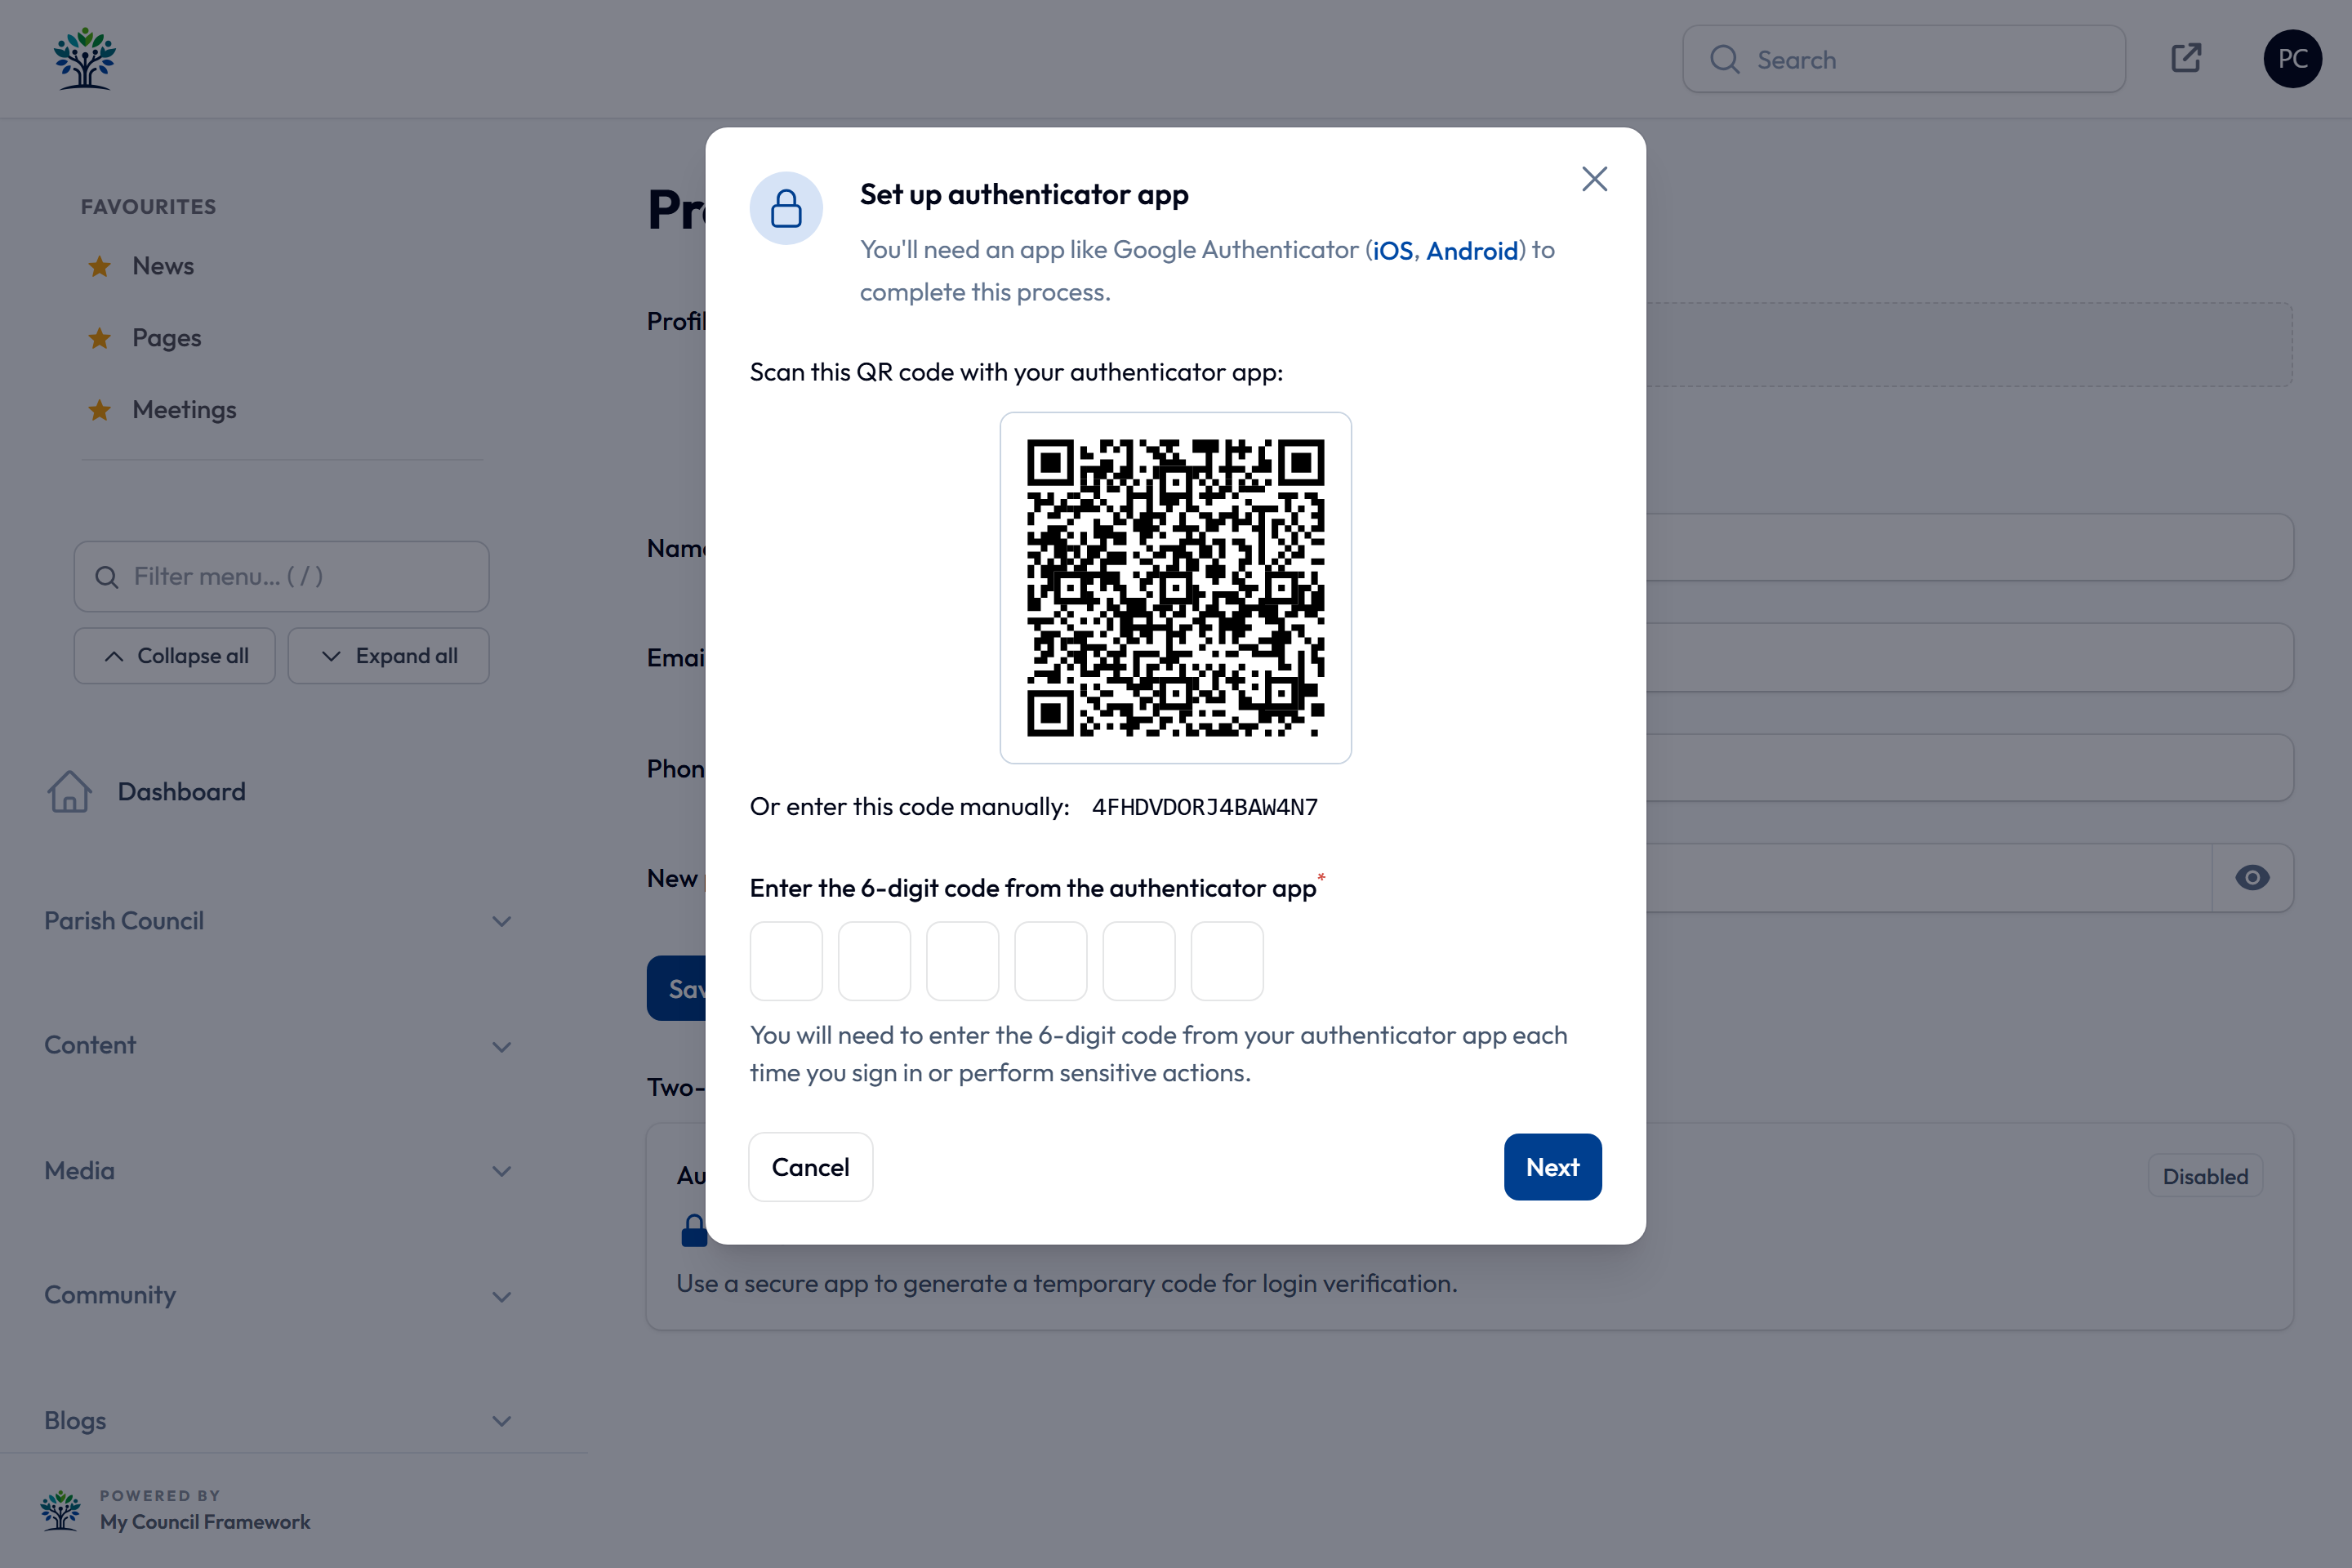
- Scan the QR code with your authenticator app. If you can't scan it, type the code shown under it into the app instead.
- Enter the six-digit code the app shows, then select Next.
- Save the eight recovery codes shown. Select copy or download and keep them somewhere safe away from your phone, such as a password manager. They are only shown once.
- Select Enable authenticator app.
From then on, each time you sign in you'll be asked for the current six-digit code from the app as well as your password. If you don't have your phone with you, select Use a recovery code instead and enter one of your saved codes. Each code works only once.
Sign in with one of your recovery codes. Then go to your Profile, select Turn off under Authenticator app, and set it up again on your new phone. If you've used most of your codes or lost them, select Regenerate recovery codes on your Profile to get a fresh set; the old ones stop working straight away.
If you've lost both your phone and your recovery codes, administrators can't switch two-factor off for you from the admin panel. Contact My Council Framework support to have it reset.
The dashboard
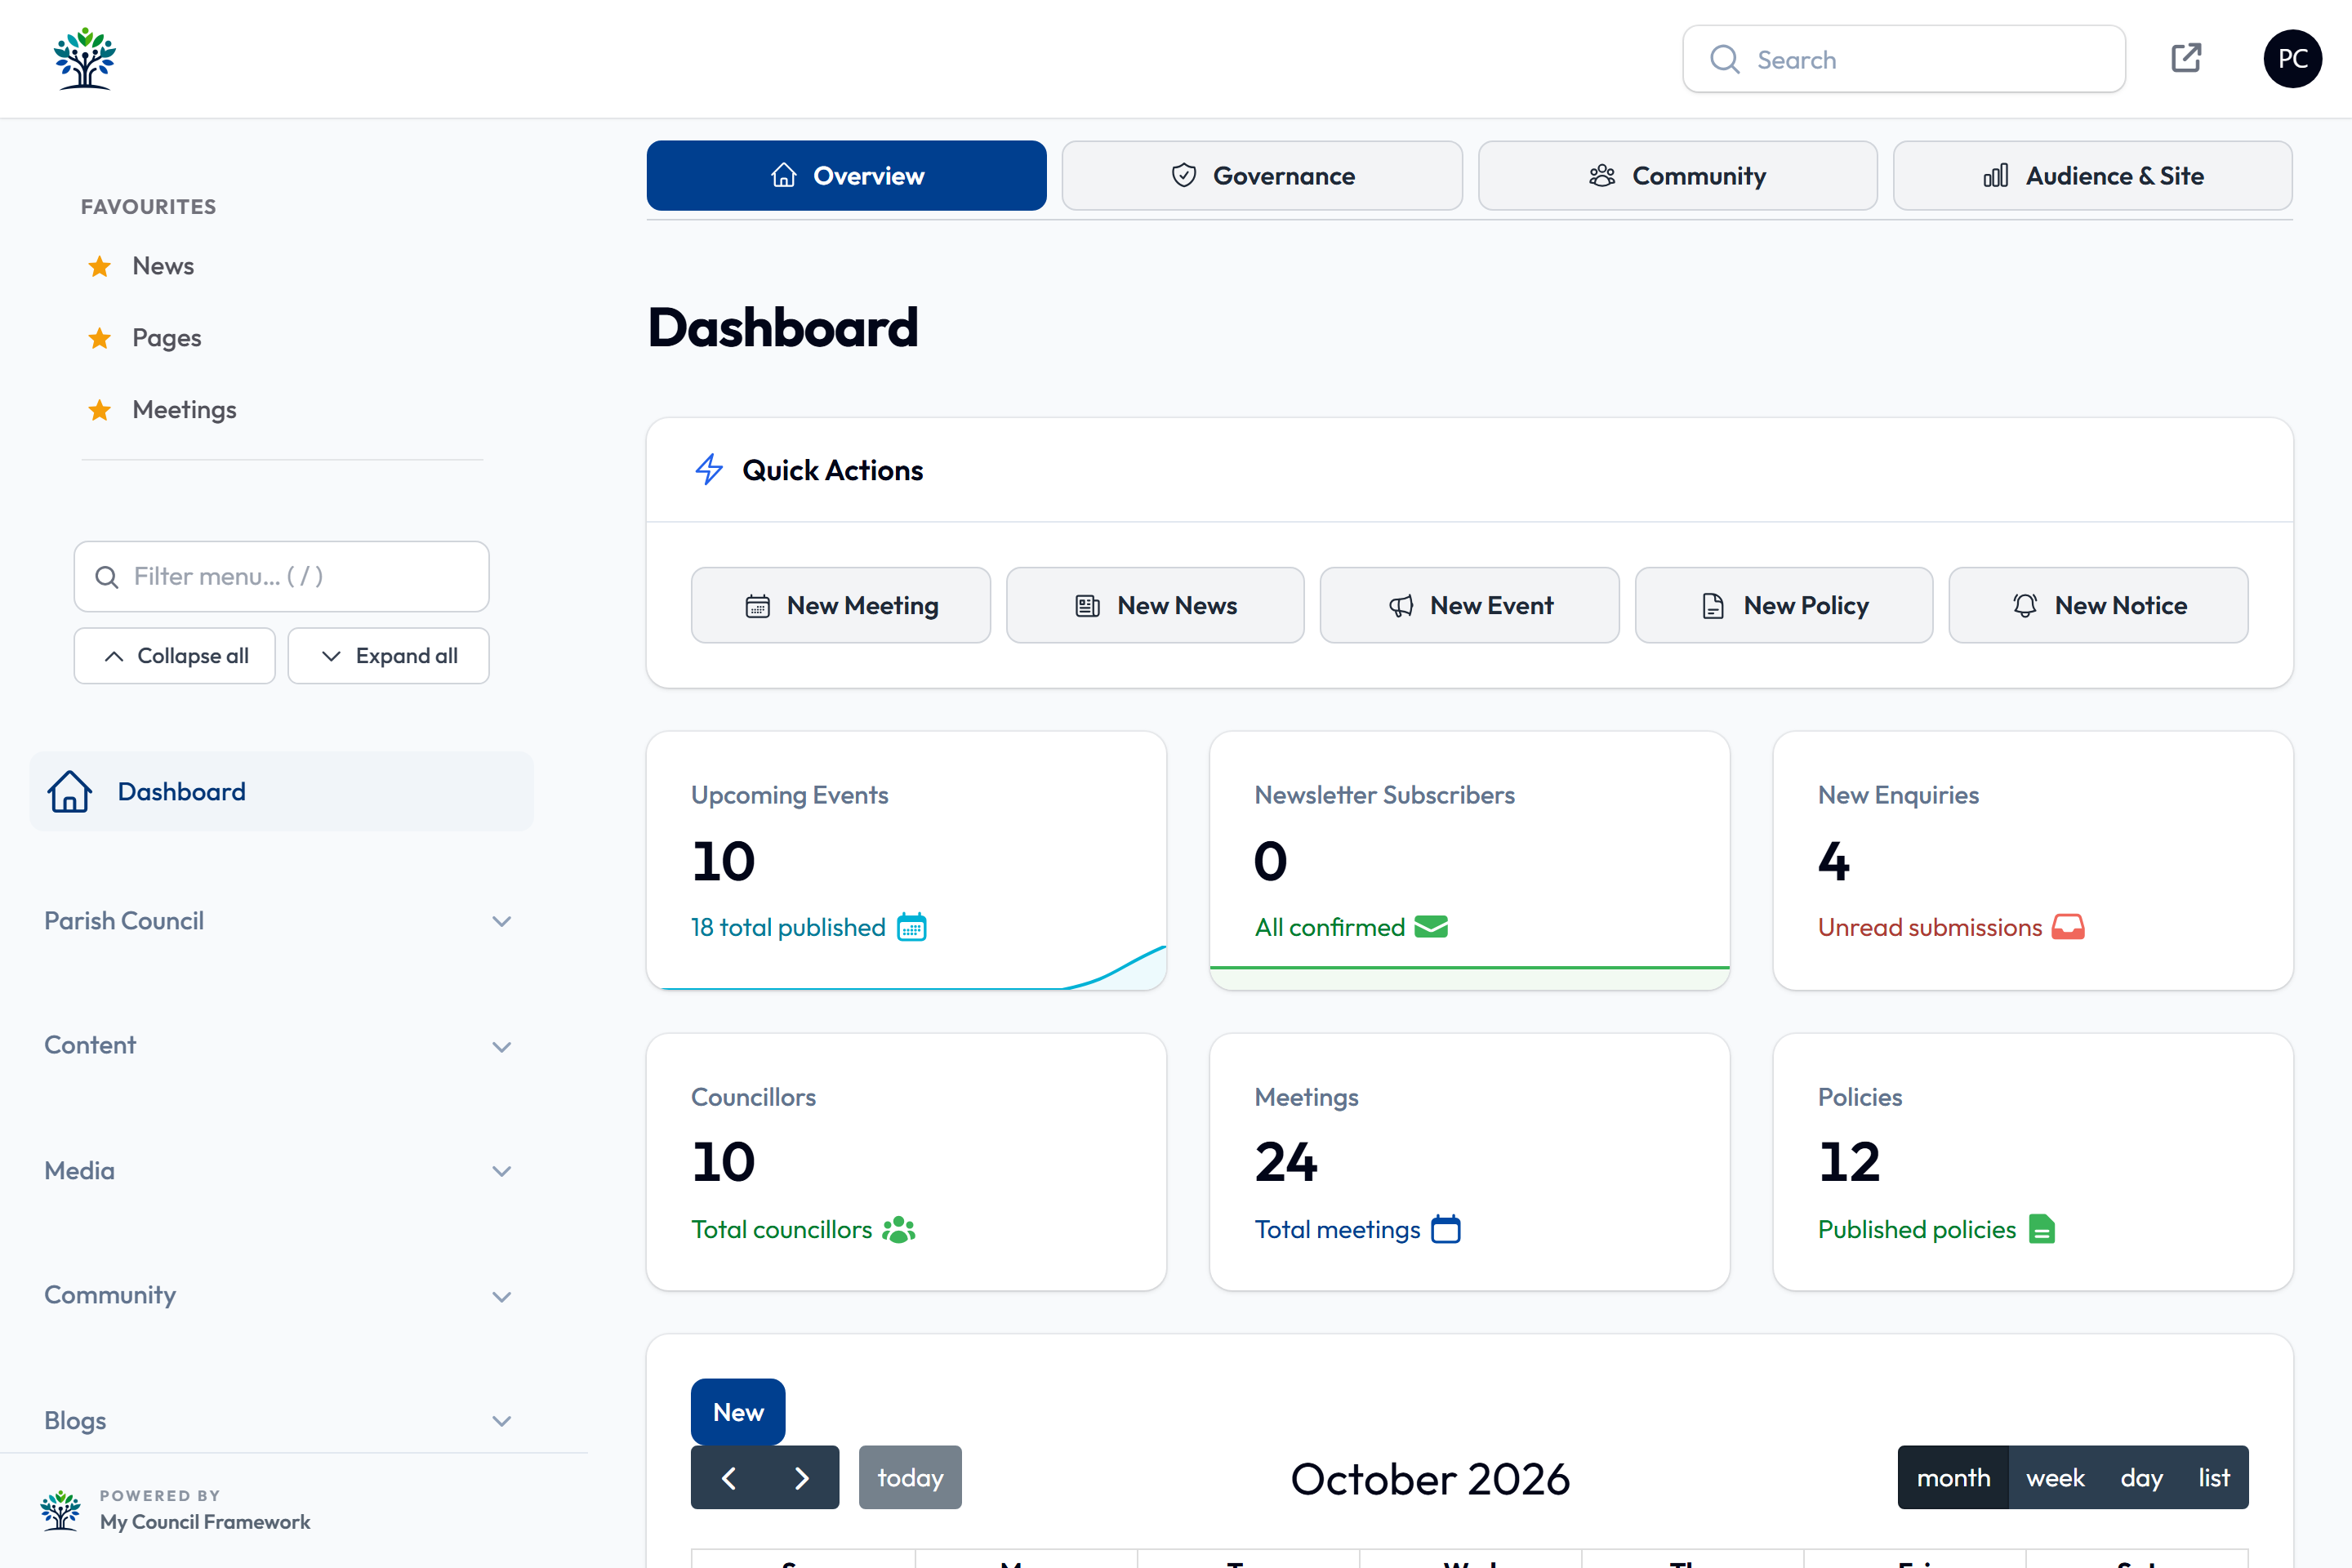
After signing in you land on the dashboard. It's organised into tabs so you see the right information at a glance:
| Tab | What it shows |
|---|---|
| Overview | Quick actions, headline stats, a calendar and your next meetings. |
| Governance | Governance and recent change history. |
| Community | Resident issues, contact backlog and moderation queues. |
| Audience & Site | Visitor analytics, newsletter growth and your most-viewed pages. |
Finding your way around
The menu down the left groups everything by area, such as Parish Council, Content and Settings. The groups you see depend on which features your council has switched on and what your role allows. Navigation & Search lists every group and what it holds.
Press / anywhere in the admin panel to jump to the sidebar search, then start typing the name of what you're looking for.
Roles at a glance
What you can do in the admin panel depends on your role. Four roles can use it:
| Role | Typical use |
|---|---|
| Super administrator | Full access, including settings and user management. |
| Clerk | Day-to-day content and community management. |
| Blog author | Writes and manages their own blog posts. |
| Page administrator | Edits specific pages they've been given access to. |
When you give someone a role you may also see end_user, which is for residents who register on the public website and gives no access to the admin panel, and panel_user, an old role that no longer does anything. See Users & Roles for the full breakdown.
Favourites — quick access to the menus you use most
The left-hand admin menu supports personal Favourites, so the screens you use most are always one click away.
- Hover your mouse over any item in the left menu — a small star appears to the right of it.
- Click the star to add that item to your Favourites.
Your starred items appear in a Favourites section pinned to the very top of the menu, keeping your most-used screens within easy reach.
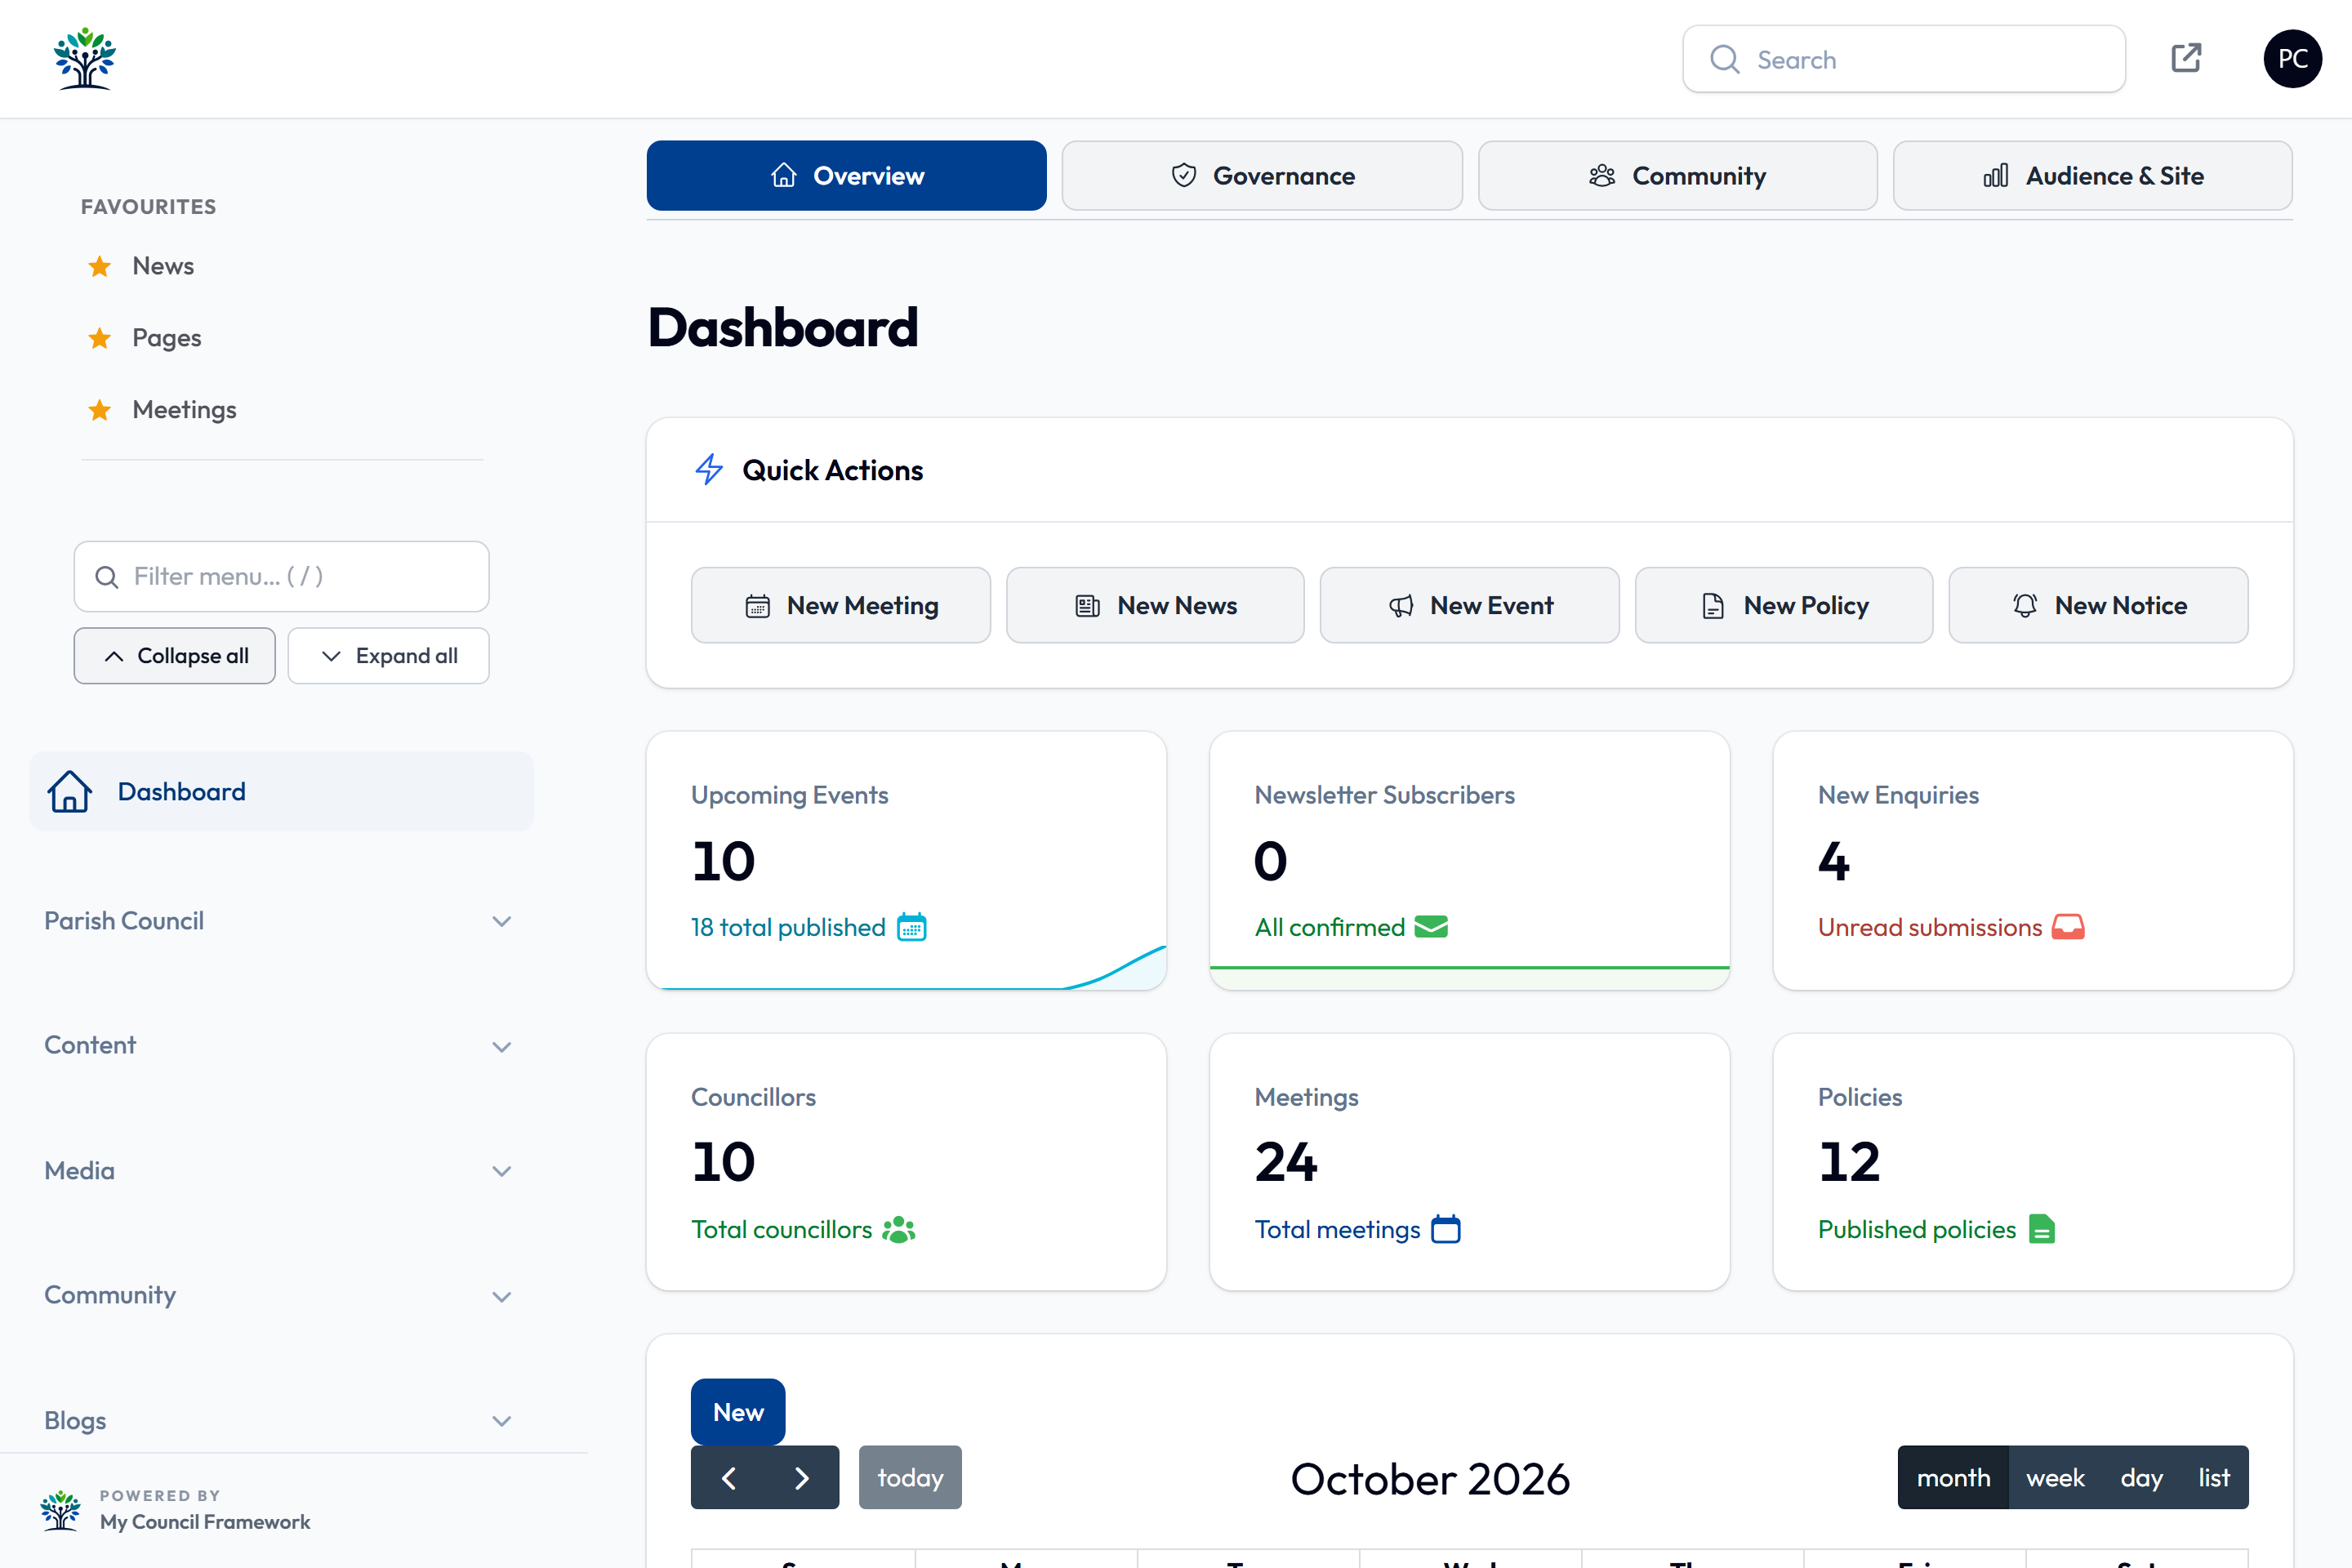
To remove a favourite, click the gold (filled) star again — either in the Favourites section or on the menu item itself.
Favourites are personal to each signed-in user. Every clerk and administrator has their own set, so changing yours does not affect anyone else.
Working with lists
Most areas of the admin panel open as a list, such as the list of meetings or news articles. Every list has the same tools:
- Search — type in the search box above the list to narrow it down across every column.
- Sort — select a column heading to sort by it; select it again to reverse the order.
- Filter — select the funnel icon above the list to narrow it by a value, such as a meeting's status.
- Columns — show or hide columns so the list shows what you need.
- Bulk actions — tick the box on several rows (or the box in the heading to tick them all), then choose what to do with them together.
- Pages — move between pages at the bottom of the list and choose how many rows to show on each.
Deleted something by mistake?
Deleting almost anything in the admin panel doesn't remove it for good. It disappears from the public website straight away, but it's kept as a deleted record that you can bring back.
- Open the list it came from, for example News.
- Select the Filter funnel icon above the list and set Deleted records to Only deleted records.
- Find the item, select Restore, then Restore again to confirm. It comes back with its web address and content as they were.
- Select the cross on the Only deleted records filter to see the normal list again.
Only a super administrator can delete something permanently, so day-to-day editing can't remove anything beyond recovery.