 MCF User Guide
Menu Builder
The Menu Builder controls the navigation menu visitors use to find their way around your public website. Add items, drag them into order, and nest them into drop-downs, all on one drag-and-drop tree.
Opening the Menu Builder
Go to Settings > Menu Builder. It opens on Menu Tree — Primary: your main menu as a tree, with each item on its own row and its sub-items indented beneath it. Each row shows where the item links to.

Rows can also show these labels:
- dropdown only: the item has no link of its own and just opens its sub-items.
- Hidden: the item is switched off and doesn't appear on the website.
- New window: the link opens in a new browser tab.
Adding a menu item
- Select Add menu item.
- Enter the Label, the wording visitors see in the menu.
- Choose where it links to, using one of these:
- Link to an internal page: pick one of your pages and the URL is filled in for you.
- Link to a document: pick a file from the Media Library. The URL is filled in and the link opens in a new window.
- URL: type an address yourself, either a path on your site such as
/aboutor a full address such ashttps://example.com. Leave it blank to make a parent that only opens a drop-down.
- Check Opens in: Same window or New window.
- Under Placement & visibility, choose the Parent menu item if it belongs in a drop-down. Leave it on Top level otherwise. Only parents that keep the menu within three levels are offered.
- Leave Published on, then select Create. You go back to the tree, where you can drag the new item into place.
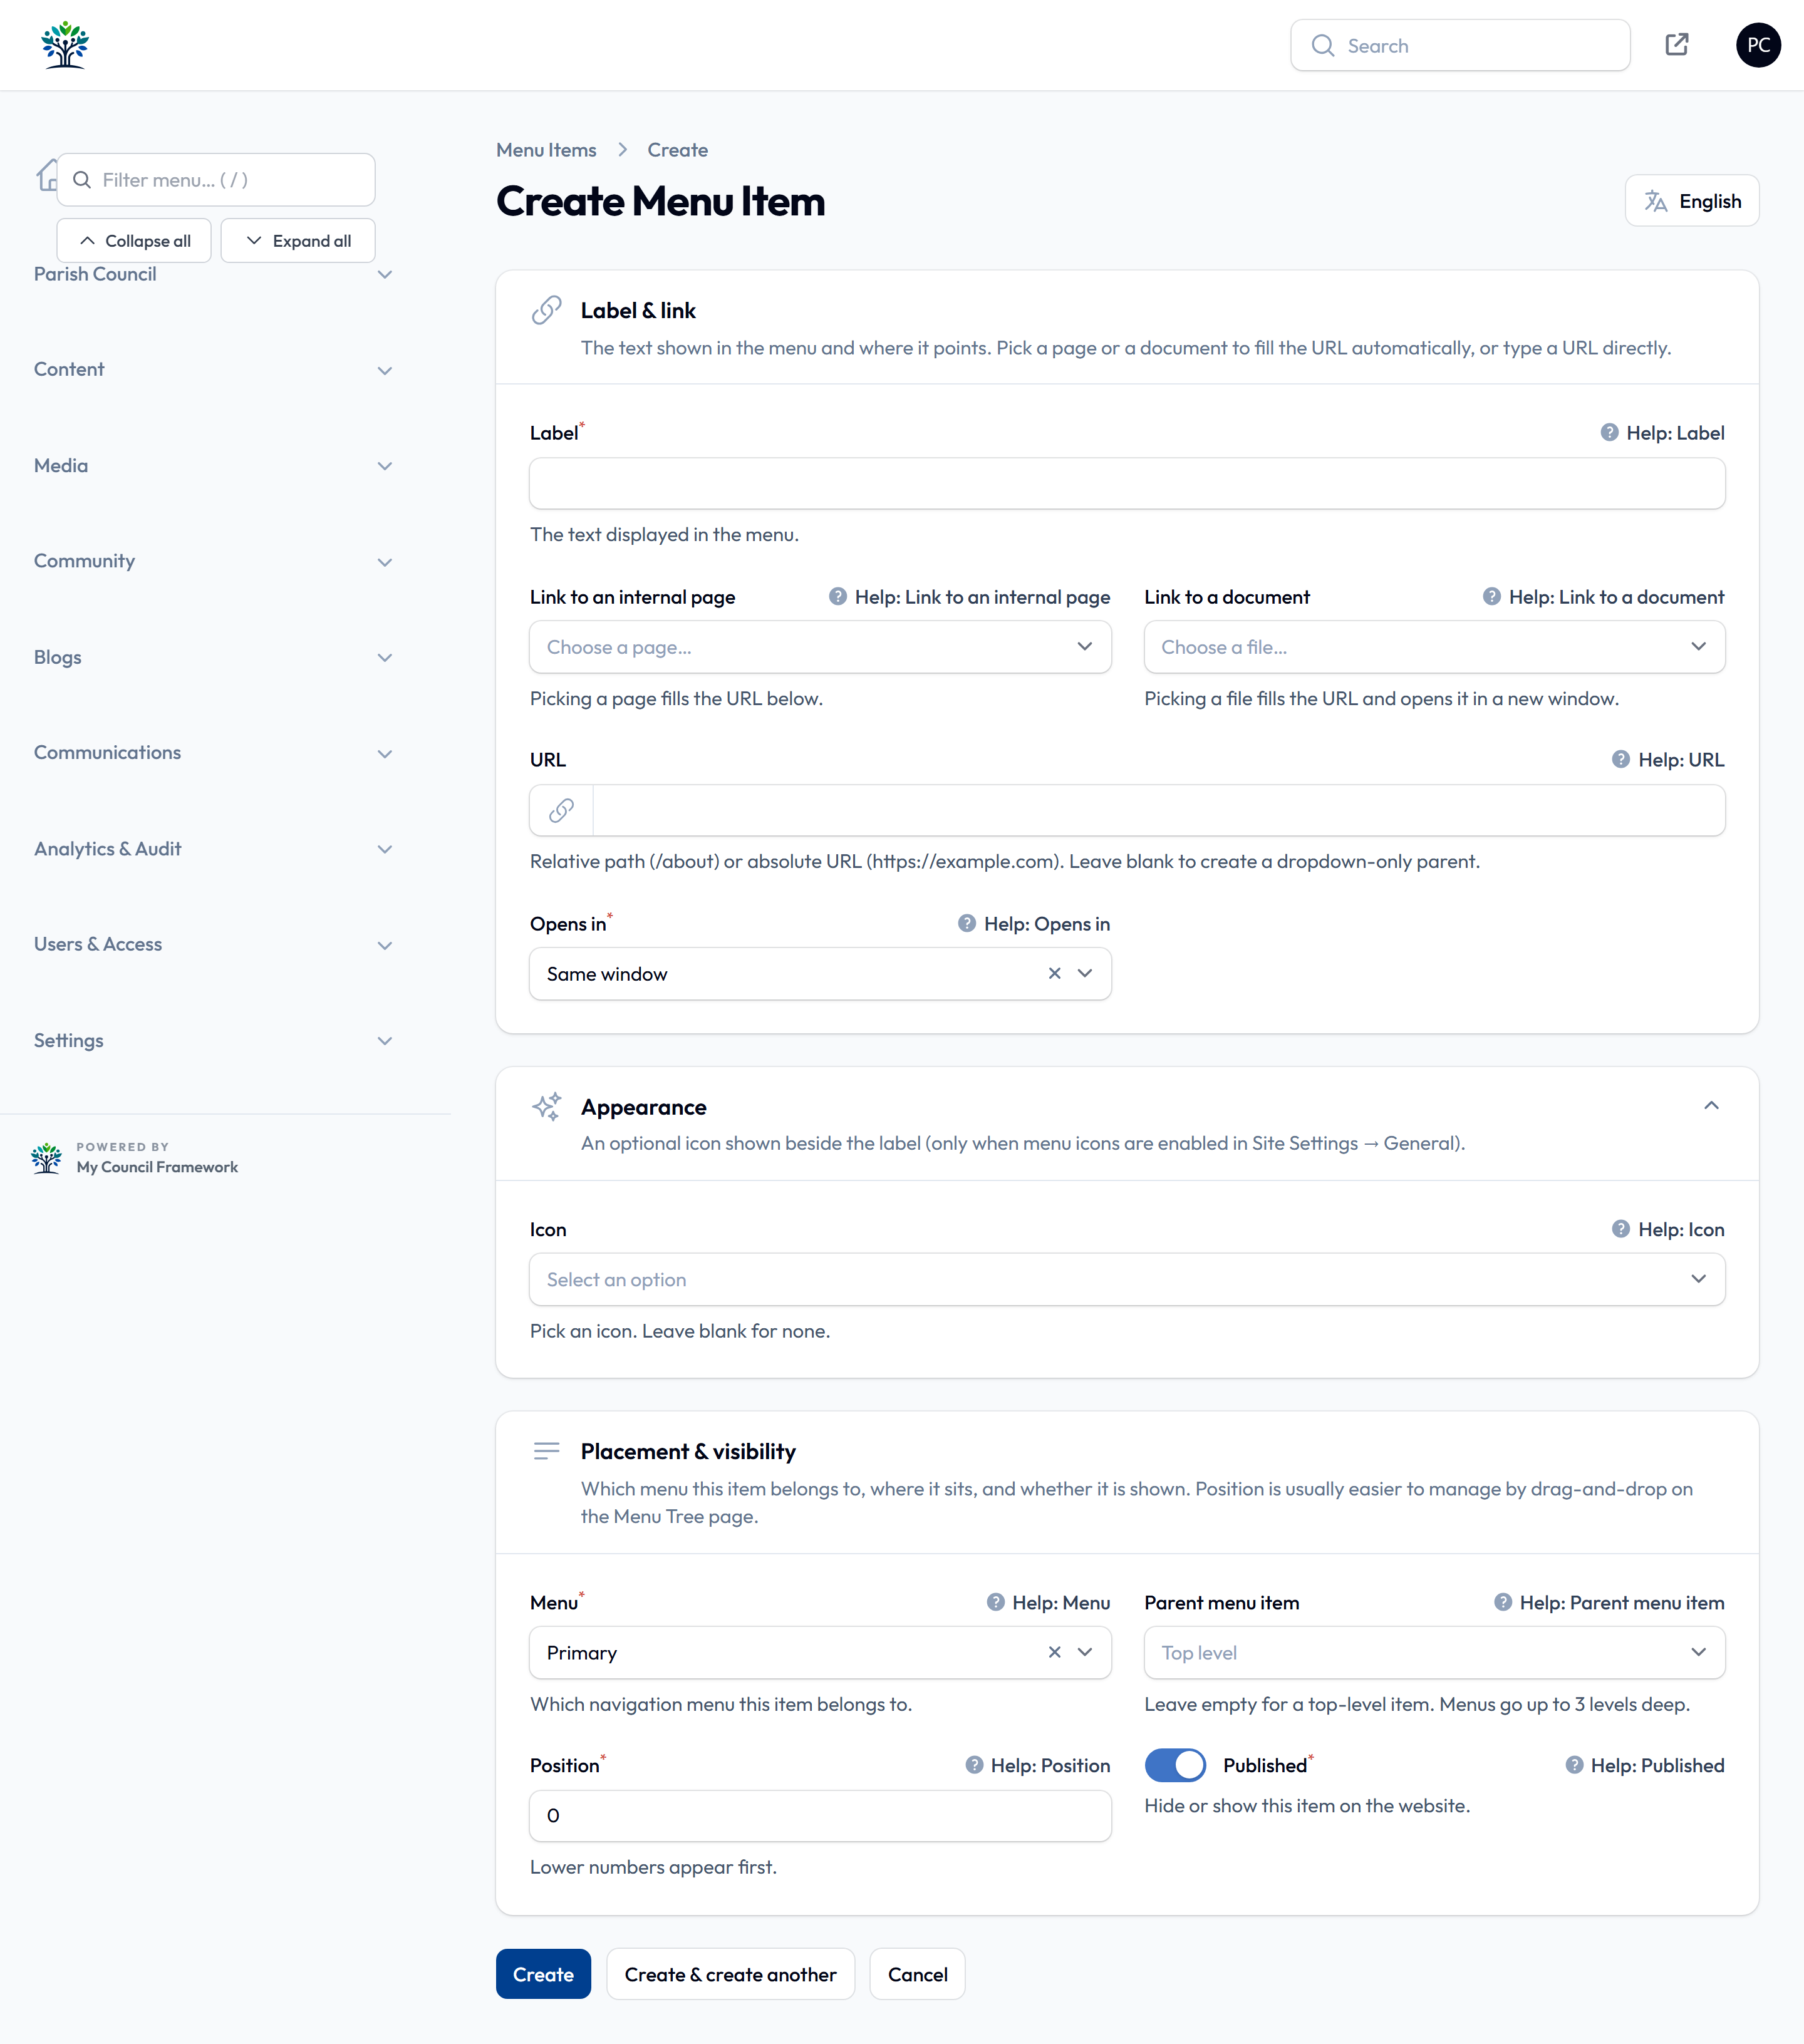
Position sets the order by number, lower first, but dragging in the tree is easier. Menu only matters if your site has more than one menu (see below).
Menu icons
The Appearance section lets you pick an Icon for the item. Icons only appear on the website when Show icons in the main menu is switched on, under Settings > Site Settings, on the General tab. It's one setting for the whole site, so either every item with an icon shows it, or none do.
Arranging the menu
- Reorder: drag an item up or down by its handle, the six dots on the left.
- Nest: drop an item into the dashed Drop here to nest as a child area beneath another item. It becomes part of that item's drop-down.
- Move back to the top level: drop it on Drop here to move to the top level at the bottom of the tree.
- Large menus: use Expand all and Collapse all, or the arrow on an item to show or hide its sub-items.
Changes save automatically a second after each drop, and the bar at the bottom says All changes saved. Save order saves straight away if you don't want to wait.
Menus can be up to three levels deep: a top-level item, a drop-down beneath it, and one more level beneath that. The tree won't let you go deeper.
Residents find one or two levels far easier to use. Save the third level for genuinely large sections.
On the website a parent item opens its drop-down rather than a page. If the parent has its own link too, the drop-down gets an extra first entry, such as Parish Council (overview), so visitors can still reach that page.
Hiding, editing and deleting items
Each row in the tree has three buttons:
- The eye hides the item from the website without deleting it, or shows it again. Its sub-items are hidden with it.
- The pencil opens the item to edit it.
- The bin deletes the item. Any sub-items move up to take its place, so nothing is lost. The same happens when you delete an item from its edit page or the list view.
Links that look after themselves
- Switched-off features: a menu item linking to a feature your site
doesn't use is hidden automatically. This covers
/issues,/venues,/petitions,/planning,/grants,/fixmystreet,/virtual-tour,/blogs,/surveys,/newsletterand/tickets. - Private pages: a top-level item with the URL
/private-pagesshows each signed-in person a drop-down of just the private pages they can read, and is hidden from everyone else. See Private Pages & Access.
More than one menu
Most councils only need the Primary menu. For a self-contained section of the site, such as allotments, you can make a separate menu and show it on just those pages.
- In the Menu Builder, select Manage menus, then New menu.
- Give it a Name, such as "Allotments". Turn off Show the site footer on pages using this menu if those pages shouldn't show the main footer. Then select Create.
- Back in the Menu Builder, choose the new menu from Editing menu and add its items.
- On each page that should use it, open the page's Theme section and pick the menu under Navigation menu. See Page Builder.
The Primary menu can't be deleted. The footer's link columns are built from the same menu: each top-level item with a drop-down becomes a column.
List view
Open list view shows the items as a table instead of a tree, with the usual search and filters. Select Back to builder to return to the tree.